Now to continue this look at Morrowind with Anna Valerian and a couple of mods after a long while.

Here we find Anna in the bar area of The Rat In The Pot, one of the local inns.
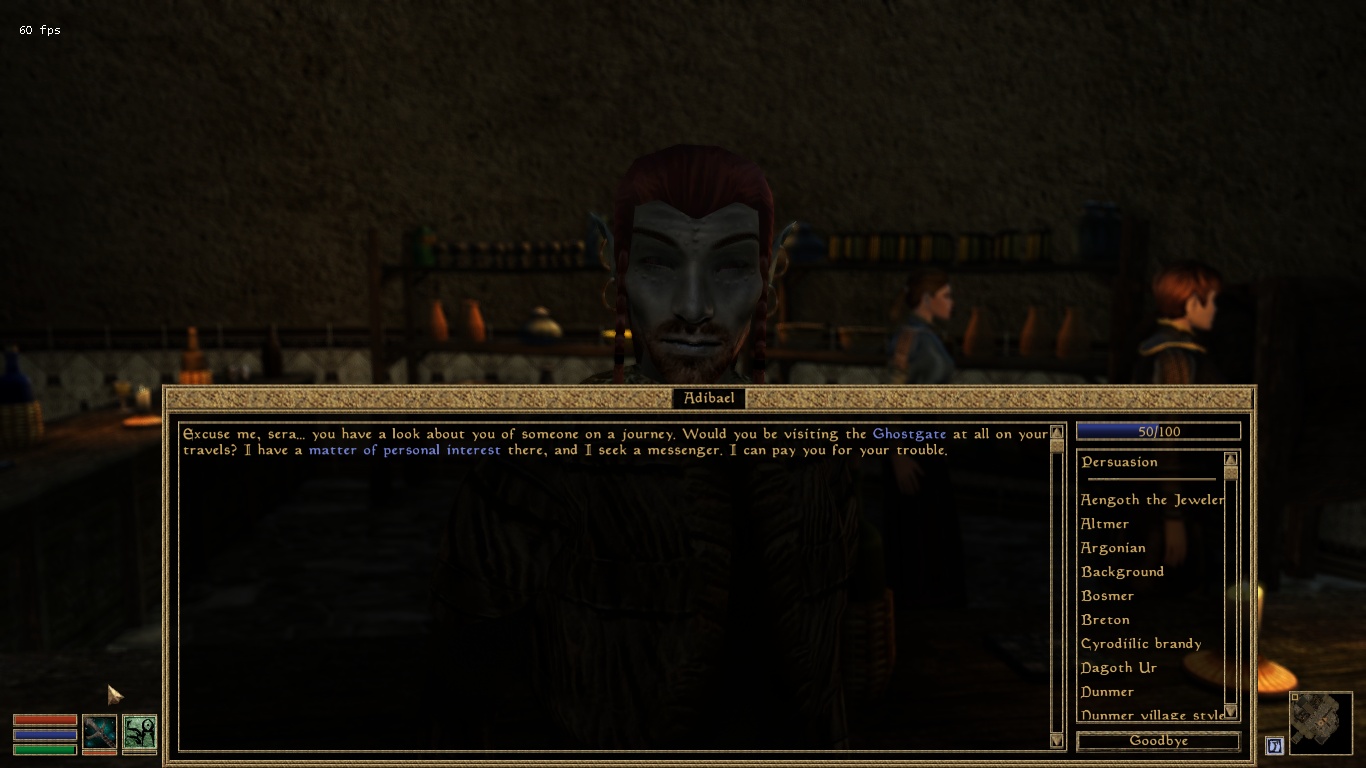
Here we meet this fellow who seems to be looking for someone to do a task for him.

Anna happens to be that someone so she proceeds to ask. Looks like the man is attempting to appease his daughter's concerns for a friend who has wandered to the Ghostgate. Seems he does not care much for said friend.

Accepting his quest nets Anna some gold immediately. I guess he believes Anna operates on the honor system.

Which she will oblige after a brief detour. Looks like more people like this clothier have work for Anna.

Seems a local ne'er-do-well has been squandering his family inheritance and has missed his payments for items he has commissioned. Ienas is up for a stern lecture though Bevene notes that he is not a bad kid, he is just someone who fell into the wrong crowd.

Now in Bevene's shop is where I first encountered this particular graphical glitch. It is centered around the table in the room. Other areas with this particular table has this glitch too.
(EDIT from 2022: Based on how MGSO is no longer a favored mod for updating the graphics, I believe future readers would be able to avoid dealing with these glitches.)

A shout-out to this fix for the above table graphic glitch. I have been using it and I have not run into issues with the mod:

After sorting out that glitch, it is off to give that Ienas his stern lecture and the ash storm is still ongoing.

Here is Ienas himself, wearing some fancy shirt with a mess of books around. For all of his newly gained wealth though, you would think that he would buy a normal bed rather than a hammock.

The first time I did this quest as a kid, I blundered around and simply killed Ienas for the stuff he owed. Which was stupid of me. Ever since then, I simply made sure that I can get Ienas' disposition up so that I could talk to him and have the option to lend a sympathetic ear.

Doing so makes him realize the folly of his ways and drives him to change his ways. Sometimes having someone to talk to and vent can make all the difference. In this case, Ienas finally realizes that his toxic lifestyle is ruining his life and has costed him everything his parents have left behind. My jab at the hammock is likely somehow relevant here as it is probably his furnishings that were sold to cover his debt. Note that you can get this option by reading several religious books and speaking to him afterwards.

As Ienas stated, he has borrowed various items from the various merchants including Bevene as well. Looks like Anna has her work cut out for her.

So now to return each item to their respective owners. As pointed out here, Ienas has decided to become a priest at the Ald'ruhn Temple.

As the reader can tell, Anna's peaceful approach to obtaining the goods from Ienas is respected by the merchants.

Now for another Morrowind Overhaul NPC. All he does is hammer away at that axe.

Again depicted is another cliff racer that followed Anna into town. I do like this aspect of Morrowind where the cities and the open world are not seperate since it means that the player is not entirely safe in the city's boundaries.

Here is another merchant Ienas owed.

Now to pass on the rest of the goods to their respective owners in Skar, the giant hollowed out shell of an Emperor Crab of the same name (an extinct race of giant crabs if the reader can believe that: http://en.uesp.net/wiki/Lore:Mudcrab + https://www.imperial-library.info/sites/default/files/obstx_fallofaldruhn.jpg)
[The second link shows an illustration of Skar raised from the dead to fight off an invasion]

As the reader can see, Skar's inside is huge with shops and homes built into it. One part of the Elder Scrolls series that becomes obvious when reading about their cities and seeing said cities in-game is that the cities are never built in-game in the same scale as they are in lore. Probably a mix of technical limitations, in-universe exaggerations etc.

Here's another one.

And the last person to return the items to. Good that that is settled.

Now to check out the local Mages Guild.

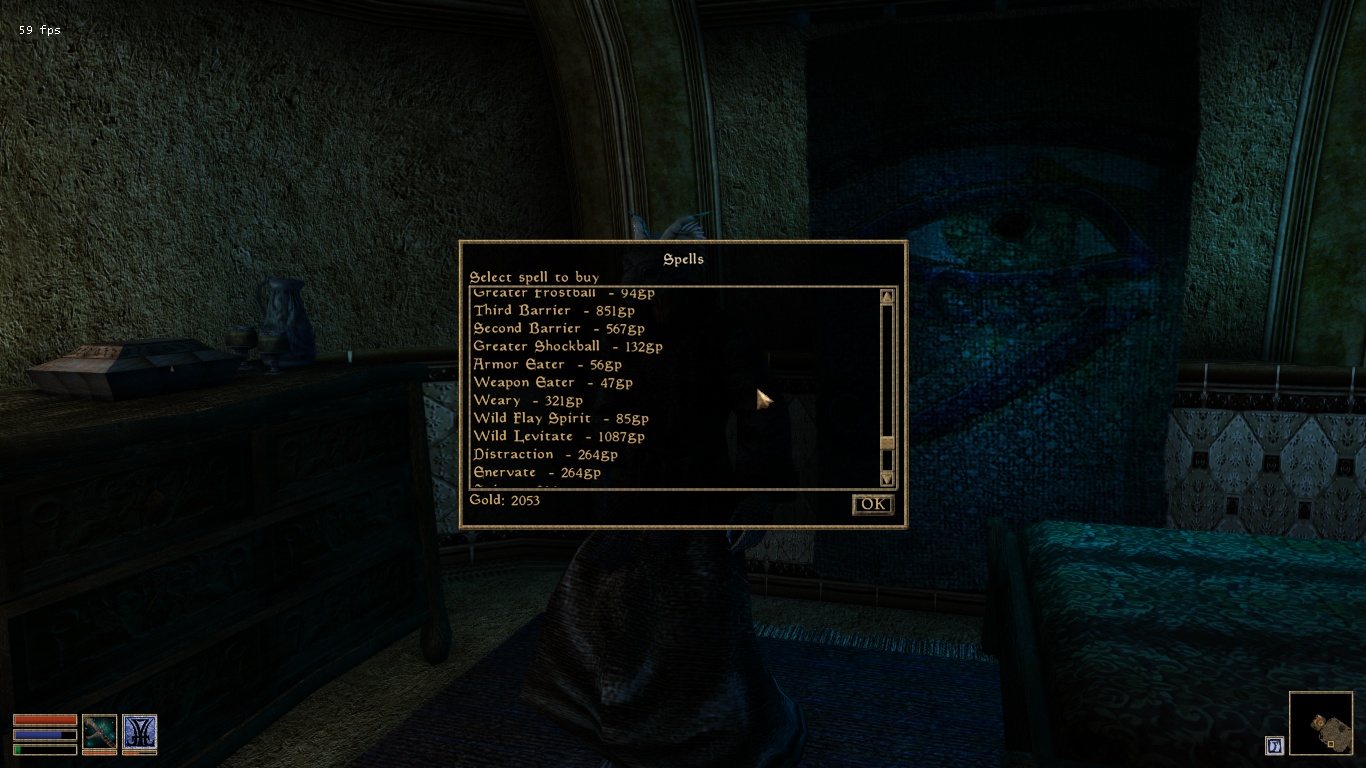
While Anna never uses spells often, it is useful to buy spells even if they are under-powered spells.

For instance with this Night-Eye spell present, Anna can use the spell's effects to enchant an item to allow for cast-on-use Night Eye that lasts longer than the original spell or a Night Eye enchanted item with constant effect. In addition, she could make a new Night Eye spell with longer duration. So it is useful to buy some low-cost spells to allow for Enchanting and Spell-making.
From this Argonian, Anna buys a few more spells.

Among the books in the Mages Guild is this skill-book. Interesting title...

Talking to the local priestess opens more topics, including topics on Bad Daedra or rather the Daedra Princes that local Dunmer culture refers to as 'bad'.

In any case, time to use the guild guide.

Since Anna has some spare cash, she could drop by another branch of the Mages Guild to get more spells.

Onward to the Vivec branch!

Now this is an interesting rumor... The Night Mother was a top-ranking member of the Dark Brotherhood rather than the bride of Sithis in later games.

From Sirilonwe, Anna can learn the most useful spells in the game, Mark & Recall. More on those spells later.

Again, Anna is refused service due to how low her rank is in the guild.

So it is about time to report back to Ajira and complete her quest for the ceramic bowl- and her reports were stolen... Figures...

Looks like Galbedir is responsible and actually confesses to her deed gleefully. So gleefully that she spills the beans on where she hid those reports.

Time to help Anna's dear friend with those reports. Now for a quick read and... that damned cat claims she collected those mushrooms. She'd better not have done the same thing about the flowers.

If I did not need to help Ajira... Damned cat stole credit from Anna. The reward better be worth it.

A lot of high quality potions and a happy vendor capable of buying skooma too? Okay, that is acceptable. With that, Anna has completed Ajira's quests for the moment.

She does have tips for Anna but only when she becomes a Warlock in the Guild. Plus she recommends visiting Edwinna for quests rather than Ranis which does throw off the whole Balmora hub thing Anna has going for her so she will ignore that.

Now to train a little of Anna's magic to qualify for the next rank. How much money could that cost?

And with most of Anna's money used up, it is time for a Fighter's Guild quest. Looks like Eydis wants a code book from someone at South Wall. Odd that she is that demanding for the book.

Sottilde here is the one who has the code book.

However immediately asking her about it will result in her refusing to give the book. So Anna will attempt a more thuggish approach.

Well that backfired rather quickly...

Now to rely on a unique power of Imperials, Voice of the Emperor. This power is essentially a powerful Charm spell that can be used once a day which would be useful here.

Using said power maxes out Sottilde's disposition and causes her to give up the book.

Now I am not aware of any local ciphers to decode this book in-game so for the curious, here is the UESP page with the decoded message: http://en.uesp.net/wiki/Morrowind:Sottilde%27s_Code_Book

Now for a little exploit; see, doing this quest locks the player character into being a Fighter's Guild member and prevents access to the Thieves Guild as taking the code book is detrimental to the Thieves Guild's war against the Camonna Tong. However, the player can still become a member of both guilds by joining the Thieves Guild before turning in the book.

So Anna does so, primarily because it would be interesting to showcase the Thieves Guild quests.

Habasi's first quest is to get a diamond. One place to get a diamond would be from the local alchemist.

Good thing Anna still has that present from that stupid orc. Her reward: An invisibility potion.

And a promotion.

Next quest: A key to the Nerano manor which is obtained from the manor's owner itself or the manservant currently at the local Council Club.

Before proceeding with that task, Anna hands in the code book to Eydis for some gold.

And now Anna needs to go collect debt money for her next task.

But before Anna resolves that, now is a good time to meet Sovor for the Nerano manor key.

Here is something that the Overhaul mod screwed up. In-universe, the Camonna Tong in Balmora are based in the Council Club and recall that the Tong are anti-outlander. Here there is an orc in the Council Club having a drink here which would be impossible in-universe (unless the orc is being poisoned by the people around him).

Now getting the key will be difficult on account of him not liking Anna. Plus she already used the Voice of the Emperor power today.

Strolling out and checking the nearby houses, Anna stumbles upon a house belonging to the Tsiya who owned the skooma pipe from before.

Waiting for an hour as depicted allows Anna to restore her Stamina in order to attempt casting of the unlocking spell.

As soon as this guard goes away... Maybe if another hour of waiting.

Seeing as Anna's skill with Alteration is rather low, the chances are slim. Luckily, Anna already has some Restore Magicka potions if she fails repeatedly.

Good thing she succeeds after several attempts.

Talking to Tsiya allows Anna to bring up the corpse and the Skooma pipe.

Turning in the pipe nets some rewards. The Moon Sugar will be useful to sell to Anna's 'friend'.

With the money from the Moon Sugar, Anna uses it on some training. Being able to succeed at casting spells would be good.

In the meantime, there is one more group Anna can join.

The Tribunal Temple! Nice to see that they allow outlanders to join.

To be a member though, the candidate must complete the Pilgrimage of the Seven Graces.

Here is a screenshot with the rules stated.

Now recall the mine that Anna found before? Asking her about it reveals that the location of the mine would be valuable to House Hlaalu.

Now the interesting aspect of the Tribunal Temple is that the gods they worship are physically present and capable of interacting with their subjects.

Vivec is one of the three living Tribunals of Morrowind with the Thirty-Six Lessons being penned by him. They are also handy skill-books.

And rather descriptive. Sleeping with the King of Rape while headless? It may sound like some allegory or metaphor but remember reader, Vivec is a god. So what he writes here may also be true as well...

Back to that pilgrimage business, reading the Pilgrim's Path marks the places where Anna would need to go to complete said pilgrimage. The book itself is quite a good read and needing to actually visit each shrine without fast travel with the appropriate offerings is quite a nice part of this quest. It allows the player to learn more about the setting and its mythologies (though with elements of truth due to the nature of the living gods in the setting).

From the Temple, Anna can now purchase the spell for Almsivi Intervention. Useful in a number of situations.

Oh and because I forgot, here are the rules for the Thieves Guild. Honor among thieves, what else? We take from the rich and give to the poor?

Seeing as Anna has been doing work, it is now the right time to complete one of Caius's orders (remember that he is Anna's boss in the Blades). Seems he wants to find out more about something called the Sixth House and the Nerevarine Prophecies with his first lead being one Hasphat Antabolis at the local Fighters Guild.

Asking him about Morrowind history nets Anna a book covering the relevant parts of Morrowind's history. Kind of like the short notes version of it with the bare minimum.

Here are the additional topics that pop up in correlation to this quest. Looks like some basic intelligence gathering.

Hmm... there does seem to be some ongoing issues in Vvardenfell. This Dagoth Ur seems rather important...

Now to visit Hasphat.

Asking him about Morrowind history nets another book on Morrowind titled "On Morrowind" while asking about current event highlights a particular issue present in Vvardenfell; mainly the growing outbreak of Blight and Blight-infected from Red Mountain. Like that previous book, the Empire would be willing to abandon Vvardenfell if the situation is not resolved.

Actually asking him about the intel he owes to Caius causes him to point out how he wants Anna to do him a favor before enclosing said intel. Said favor involves going to a nearby Dwemer ruin named Arkngthand (try pronouncing that name over and over again, reader) and collecting a puzzle box from said ruin. Luckily he provided directions to the ruin and more topics, including the disappearance of the Dwarves.

Well, now would be a good time to go so Anna proceeds to the ruins per Hasphat's instructions.

Here is the Dwemer bridge as he described and... is that someone on the other side? Hope he's friendly...

And he is not...

Worse still, he is a mage.

Killing him first causes the skeleton to disappear so focus on him.

This scrap metal may come in handy so Anna picks it up.

Looks like Anna has made it to the ruin seeing as the entrance is in the distance.

Following Hasphat's directions, Anna finds a Dwarven crank. Per Hasphat's instructions, pulling the crank will unseal the entrance.

Pulling the crank allows access to the entrance but note that the player needs to get in before the entrance is sealed again.

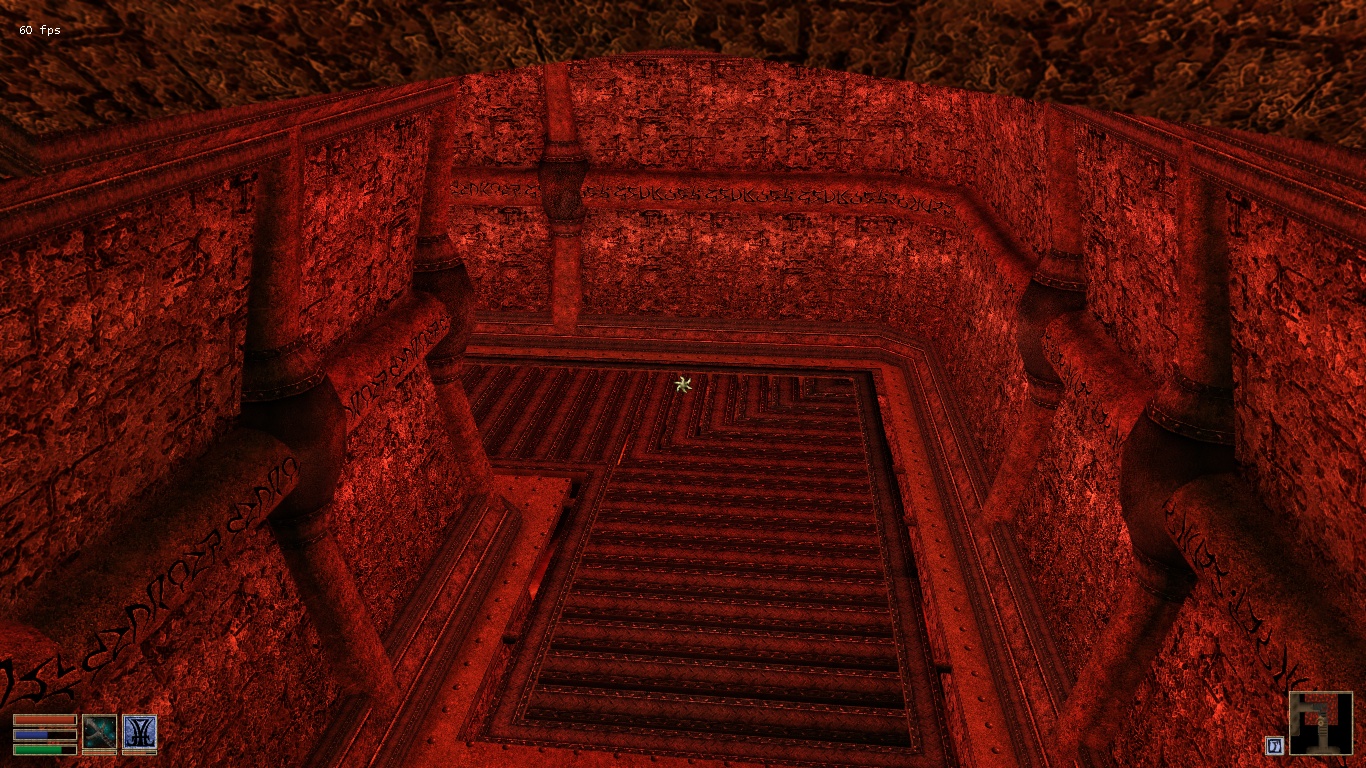
Making it in, Anna enters the ancient Dwemer ruin.

As one can tell from Snowy from earlier, these ruins have been taken over by bandits.

Bandits who Anna has attempted to kill with a weak Fire spell.

Good thing the pathfinding is not that great.

Eventually, Anna takes the fight to the bandits.

Killing each bandit that comes her way.

Time to explore this hall. I wonder if there are any Bellsprouts around as well...

First person in the Weepingbell Hall. I wonder if he's-

Nope. He is hostile as well.

Sometimes good alchemy ingredients can be located in the steel kegs of these Dwemer ruins

Dwemer artifacts may be priceless in-universe (and merely above average for selling) but their sheer weight versus their price in gold is rarely worth the hassle.

Ignoring the pitcher, Anna moves on.

Now, these Dwemer coins are among the exceptions to the rule. The coins are both light and worth their weight in gold which is why it is advisable to pick them up as loot. Note that despite the laws against trading Dwemer artifacts in-universe, no one in-game will enforce that law or report the player for dealing with said artifacts.

Here is another hostile bandit.

Whose only purpose is to improve Anna's skill with the long blade.

In the ruins, Anna finds this chapter of A Dance in Fire.

Now to go back to the hall of proto-Victreebel.

Note that the Dwemer lights are still functioning despite the number of years that these ruins have been abandoned. In-game lore suggests that the Dwemer figured out methods to ensure their devices and structures never wear out or falter due to age.

With the added light source from Anna's lantern, she encounters another hostile bandit.

I will admit that the way the shadows form from the light source looks good here.

An annoying part of the game is that when the player interacts with an NPC without being visible to said NPC, the same dialogue plays out with the NPC asking "Who's there?" before suffering a drop in disposition. This may not be that annoying against hostile NPCs but against non-hostile NPCs who do not see the player due to reasons, their disposition towards the player character drops.

Well, he's dead.

Now here is another trapped door.

Note that the frames of furniture like this bed-frame can be found in various other Dwemer ruins. Seems that the mattress and bedding materials did not have the same time-resistant features as the rest of the Dwemer's devices.

I got lucky with this shot. A quick strike and a press of the screenshot key lead to this.

Now to check out the local gallery... I wonder where do these names come from in-universe.

Here is a casually dressed bandit.
Onwards into this hallway. Note that below the metal walkway is lava. Somehow, the player character's feet are not burnt from walking over super-heated metal but one can chalk this up to Dwemer enhanced building materials.

Players of Oblivion may recognize that running stance. Seems the Overhaul mod bases their animations from Oblivion's.

Well, the man is dead too.

Now, the reason why one would invest in luck is so that the chance of rare loot randomly appearing in chests becomes higher. Such as this claymore/

This door seems to have a strong lock.

Good thing Anna knows how to... There's a lava pit and a broken bridge.

With claymore in hand, I am certain Anna can make the leap.

Or not... And I forgot to save... Oops.

Because I forgot to save, the randomly generated loot from before has changed. Now it is a halberd that Anna does not know how to use.

If Anna had a Levitation potion, she could head up there. But she does not.

Worse yet, her Alteration is too low to even attempt to use her Levitate spell.

So Anna proceeds onward, searching for the puzzle box.

But before that, here is that previously unreachable upper area that turns out to be accessible via a doorway in the previous area.

Inside is this valuable spear to sell as Anna does not use spears.

Last room accessed from the starting area. This along with that area past the broken bridge are the last places Anna has searched.

And there is yet another bandit.

Except this one's name has the word "Boss" in it. Interesting choice of name (though I suspect the childhood bullying from that name led to this poor life decision).

And here it is. While the Overhaul mod makes the box a bit more obvious with glowing lines lining the box, the vanilla version was tiny and less obvious. I have seen posts online on people asking where the box is and complaining on how hard it is to find but to be honest, I do like that the box is not obviously marked nor indicated on the map. In-universe, these objects would not be marked or indicated so it would make sense for the player to have to search each nook and cranny for a box and plenty of games these days do spoil the experience of searching by indicating the location of the item via mini-map indicators or quest arrows (for instance, like in Skyrim).
That said, this box was DAMN hard to find the first time I played this!

Upon picking up the box, the journal is updated.

Now to use one of the scrolls of Intervention. Divine this time as Anna does need to meet with a Legionnaire over at the fort.

I love the Intervention spells.

In the fort, spells can also be bought though in an Imperial based fort, the spells sold by the Imperial Cult members would bear names based on the Nine Divines.

Here are some additional topics, one of which is an offer to join the Imperial Cult.

This is the Imperial equivalent of the Tribunal Temple except with obvious differences. The main quest-givers for this faction is based in Ebonheart so joining here simply grants access to the faction's services.

Before showing what Anna does, she goes to meet Larrius Varro who has work for Anna.

Along with a long story. Seems that Varro has been trying to fight corruption in Balmora but has no success due to the connections that the main corrupt magistrate has. However, Varro's epiphany causes him to realise that if he cannot touch the magistrate, he can ensure that the connections, or bad people as he puts it, are severed. Via a nice, warm bloodbath.

From what Varro has added, it would seem that the bad people are with the Camonna Tong and that there will be a substantial reward for scheduling the bad people's appointment with that bloodbath.

Here is another Overhaul NPC. Note that due to his animation and position, he cannot be spoken to as he will only reply with the "Who's there?" line that drops his disposition.

In-universe, I can sort-off see Ra'Virr as someone who one could sell Dwemer coins to, seeing as he would accept Moon Sugar and Skooma as well.

Selling the Dwemer spear and halberd here though... not so much...

Now to hand over the box.

Looks like Hasphat has the intel on the Sixth House though nothing on the Nerevarine prophecies. He does however recommend one Sharn gra-Muzgob as a source on those prophecies along with further remarks on the Sixth House, even providing references to look up for more info on the House.

On the Dwemer, Hasphat does bring up additional remarks. Asking about the box reveals that the box provides instruction for a key to access the rest of Arkngthand while asking about other ruins brings up a specific ruin with an ongoing expedition present. A ruin that Anna can get a letter of recommendation by Hasphat in order to explore said ruins.

Now to sell the rest of Anna's loot to the local pawnbroker. Hope she figures out how to get rid of the coins soon.

It would be so simple to snatch up this Mortar & Pestle...

Hasphat's notes are disappointingly short. Looks like he copied what was said in other books before summarizing them into a single set of notes.

Here is the insight of the local bookseller on Morrowind's history.

After handing the notes to Caius, Anna proceeds to ask about her next set of orders. Seems Caius was prepared for Hasphat not having enough intel on the prophecies as the former is now ordering Anna to see Sharn regarding those prophecies. He also notes that Sharn probably has a secret.

Checking in with the thieves of South Wall, Anna gets the info she needs on Varro's "bad people".

Since it has been a long day, Anna decides to rent a room for the night.

Over the sound of chomping, Anna walks through the unlocked door and proceeds to the bed.

Hope there are no bedbugs here...

Instead... a dream...

A creepy one.

...There goes the alliteration?

Good for you, creepy voice?

(Dated and not directly relevant, yes but it's hard to pass it up.)

In the vanilla game, the dreams were text-boxes that described each dream in detail. The entries in the journals simply matched what each text-box said. For the Overhaul mod, it would appear that there is a change from text-boxes as the above parts had voice-acting present to say what the tall figure spoke. So far, I cannot say which I prefer more at the moment.

Asking about these dreams from Caius nets a warning. Seems disturbing dreams like Anna's are the kind that causes the Temple to resort to Spanish Inquisition methods.

Walking to the Mages Guild leads to this encounter.

Looks like the Sixth House is more than some long-forgotten House. Either ways, it is time to flee to the Mages Guild for some shut-eye.

Now for a level-up.

Due to that encounter, Anna would do some errands in Ald'Ruhn for a bit before heading back to see Sharn.

With that, this part of my look at Morrowind comes to a close. Join Anna next time as she f recalls that particular errand from the start of this post that she still has not completed.